Ever Wondered How to Build a Worm Farm?
Discover the World of Worm Farming: A Fun and Eco-Friendly Project
Hey gardeners and eco-adventurers! Are you ready to dive into an exciting and earth-friendly project? Welcome to our special guide on building your very own worm farm! Whether you’re a green thumb in training or just curious about how to turn kitchen scraps into garden gold, this guide is perfect for you. Worm farming is not only super fun, but it’s also a fantastic way to learn about nature and help our planet. So, grab your gardening gloves, gather some simple materials, and let’s create a magical mini-ecosystem right in your backyard!
DIY Magic: Building Your Own Worm Farm
What Materials do You Need to Build a Worm Farm?
- Two plastic bins (dark colored, not transparent) – one bin should be able to fit inside the other with some space left at the bottom.
- A drill (ask an adult for help).
- Newspaper or cardboard.
- Soil.
- Worms (red wiggler worms are the best).
- Kitchen scraps (like vegetable and fruit peels).
Folklow This Step-by-Step Guide to Build Your Own Worm Farm:
Step 1: Prepare the Bins
- Take the two plastic bins. The bottom bin will catch any liquid that drains (this is called “worm tea” and is great for your plants!).
- Drill about 8-10 small holes in the bottom of the top bin. These are for drainage and air.
- Also, drill some holes on the sides near the top for more air.
Step 2: Bedding for the Worms
- Tear up some newspaper or cardboard into small pieces. This will be the bed for your worms.
- Wet the torn newspaper or cardboard so it’s damp but not too soggy.
- Put this damp bedding in the top bin until it’s about halfway full.
Step 3: Adding Soil and Worms
- Sprinkle a thin layer of soil on top of the damp bedding. This helps the worms digest their food.
- Now, add your red wiggler worms. You can usually buy these online or at a garden store.
-
Where to buy red wiggler worms in South Africa?
Step 4: Feeding Your Worms
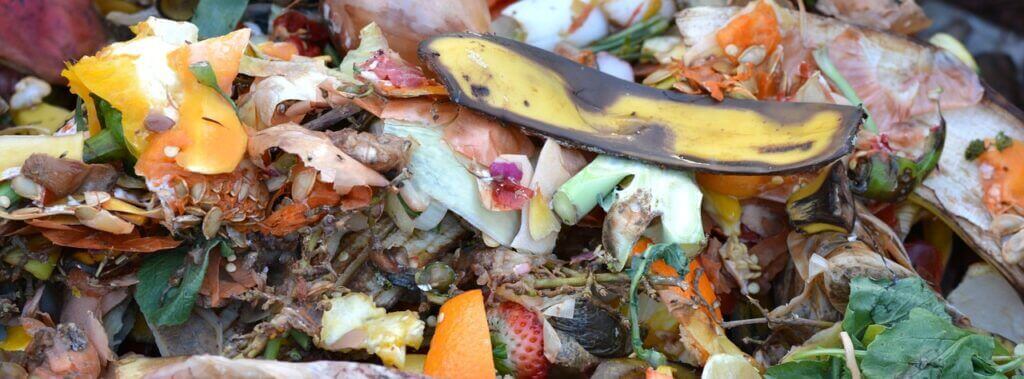
- Worms love kitchen scraps! Add some vegetable and fruit peels, but avoid meat and dairy products.
- Bury the scraps under the bedding so it doesn’t attract flies.
- Don’t overfeed your worms. Start with a small amount and see how quickly they eat it.

Step 5: Cover and Check
- Cover the bin with a lid (remember, it should have air holes).
- Place your worm farm in a cool, shaded area.
- Check on your worms every few days to make sure they’re happy. The bedding should always be damp, and the worms should be eating the scraps.
Step 6: Harvesting Your Compost
- After a few months, you’ll see less bedding and more compost (worm poop). This is great for your plants!
- To harvest, move the compost to one side of the bin and add new bedding and food to the other side. The worms will move to the new bedding, and you can take out the compost.
Remember:
- Worms are living creatures, so take good care of them.
- If the bin smells bad or the worms aren’t eating, something might be wrong. Check if the bedding is too wet or if there’s too much food.
Congratulations, Eco-Warriors: Your Worm Farm Adventure Begins!
Well done! You’ve just taken a big step into the world of sustainable gardening by building your very own worm farm. Remember, this is just the beginning of your adventure with these tiny, yet mighty earth helpers. As you care for your worms and watch them turn scraps into compost, you’re not only making your garden happier but also doing something great for our planet. Keep exploring, keep learning, and who knows what other green wonders you’ll discover! Happy worm farming, and remember, every little worm is a big hero in our gardens.


Well done to my happy heros