How to Make Compost: Composting Made Easy
Gardening is not just about planting and watering. It’s a journey towards a greener, healthier environment, starting right in our backyards. One of the most essential, yet often overlooked, components of successful gardening is composting. Its good for your garden, great for the envirtonment and saves you money!
What is Compost and Why It Matters
Compost is the gold of the garden; it’s a rich, earthy material resulting from the natural breakdown of organic matter. This process transforms kitchen scraps and garden waste into a nutrient-rich soil enhancer, perfect for boosting plant health and soil structure. Composting not only enriches the soil but also reduces the need for chemical fertilizers, encouraging a more organic approach to gardening.
Whatch our video on why composting is important.
Choosing the Right Location and Compost Bin
Where to put a compost bin or compost pile: Selecting an appropriate spot for your compost is crucial. It should be easily accessible, but not too close to living spaces to avoid any potential odors. A spot with partial shade is ideal in South Africa’s climate, as it prevents the compost from drying out too quickly. When it comes to compost bins, there are various options available, from simple open piles to enclosed bins and tumblers. Choose one that suits the size of your garden and your composting needs.
Ingredients for Your Compost: Balancing Greens and Browns
The key to successful composting is balancing ‘greens’ (nitrogen-rich materials like vegetable peelings, grass clippings, and coffee grounds) with ‘browns’ (carbon-rich materials like dry leaves, straw, and cardboard). A good rule of thumb is to aim for an equal mix of both to ensure efficient breakdown and nutrient balance.
Composting Greens (Nitrogen-rich)
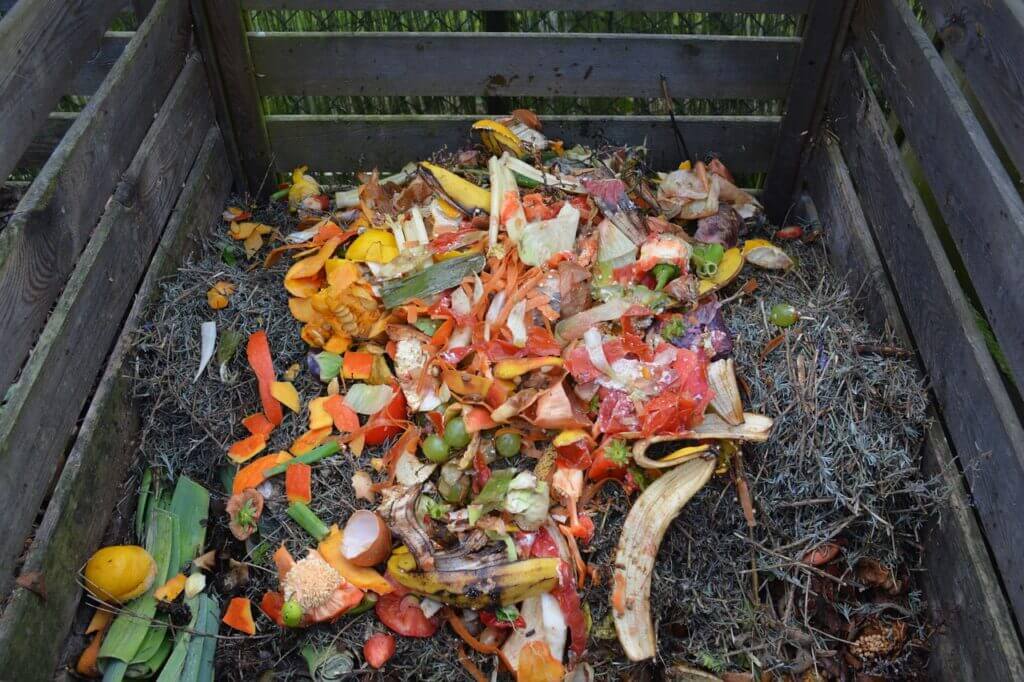
- Fruit and Vegetable Scraps: Includes peels, cores, and leftover pieces.
- Coffee Grounds and Filters: Used coffee grounds and paper filters.
- Tea Bags: Used tea bags (remove any staples).
- Grass Clippings: Freshly cut grass.
- Plant Trimmings: From your garden or houseplants.
- Fresh Weeds: Weeds that haven’t gone to seed.
- Eggshells: Crushed for faster decomposition.
Composting Browns (Carbon-rich)
- Dry Leaves: Fallen leaves, preferably shredded.
- Straw and Hay: Dry and untreated.
- Sawdust: From untreated wood.
- Cardboard and Newspaper: Shredded or torn into small pieces.
- Dryer Lint: From natural fibers only.
- Wood Chips: Small chips decompose more quickly.
- Pine Needles: Decompose slowly, use sparingly.
How to Use Greens and Browns For Composting:
- Ratio: Aim for about 3 parts brown to 1 part green by volume.
- Layering: Alternate layers of green and brown materials in your compost bin.
- Moisture: Keep the compost moist, but not overly wet.
- Aeration: Turn the compost regularly to aerate it and speed up decomposition.
How to Make a Compost Pile: A Step-by-Step Guide
Step 1: Start Compost with a Layer of Browns
- Foundation Layer: Begin with a layer of brown materials at the bottom of your compost area. This layer should be about 10-15 cm thick.
- Purpose: This base aids in drainage and aeration at the bottom of your compost pile.
Step 2: Add a Layer of Greens
- Green Layer: Add a layer of green materials on top of the brown layer. This should be around 5-10 cm thick.
- Balancing: Maintain a ratio of roughly 3 parts browns to 1 part greens by volume.
Step 3: Add Another Layer of Browns
- Second Brown Layer: Cover the green layer with another layer of brown materials, similar in thickness to the first.
- Repeat Layering: Keep alternating greens and browns, ensuring each green layer is covered by a brown layer.
Step 4: Maintain Moisture For Healthy Compost
- Watering: Lightly water the pile after each layer to keep it moist but not wet. The compost should feel like a wrung-out sponge.
- Check Regularly: Monitor the moisture, especially in dry conditions, and water as needed.
Step 5: Aerate the Compost Pile
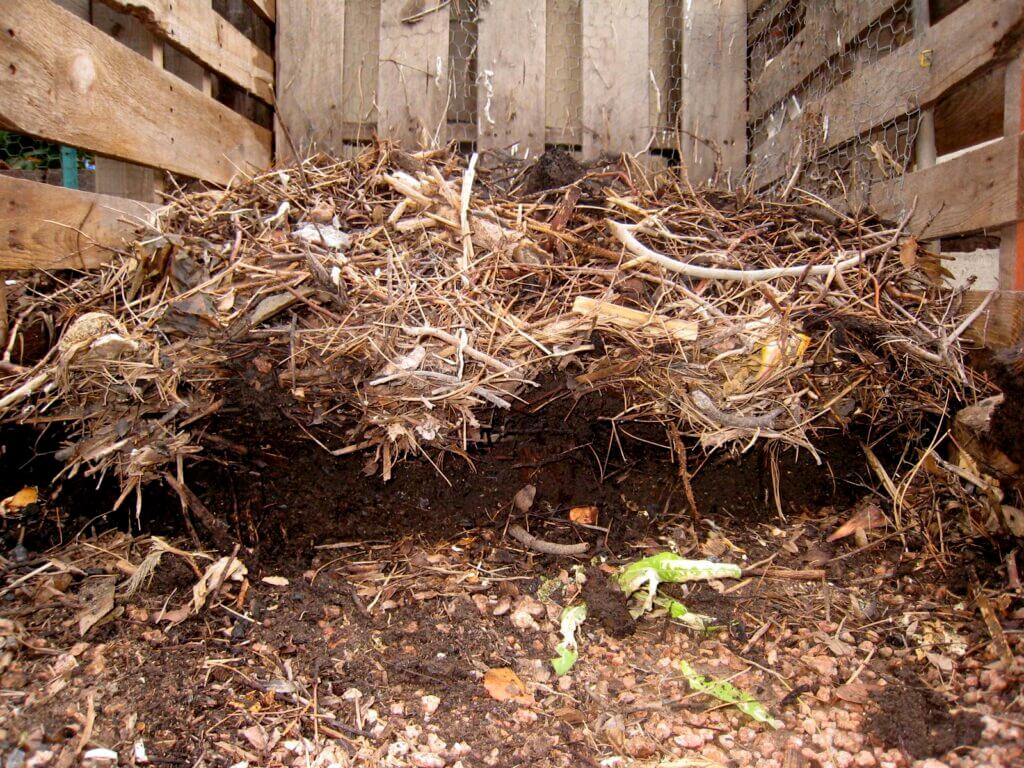
- Turning: Every few weeks, turn the pile with a garden fork or a compost aerator to introduce oxygen, which is essential for composting.
- Frequency: In warmer conditions, the pile may require more frequent turning.
Step 6: Monitor and Use Your Compost
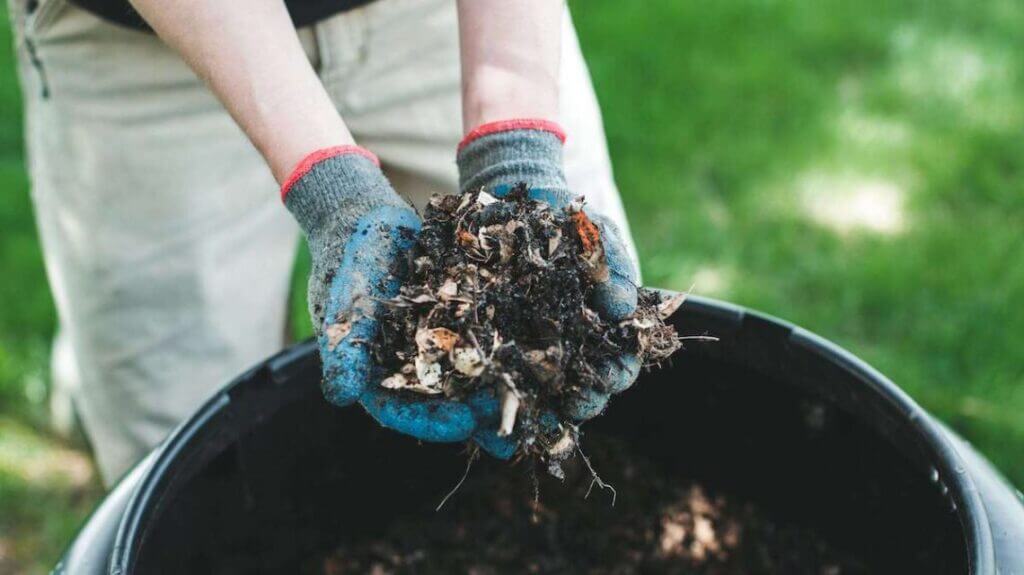
- Compost Readiness: The compost is ready when it’s dark, crumbly, and smells earthy. This process can take from several months up to a year.
- Usage: Utilize the compost in your garden as a soil enhancer or fertilizer.
What Not to Put in Compost: Key Materials to Avoid in Your Compost
Not everything belongs in the compost bin. Avoid adding meat, dairy products, diseased plants, and any inorganic materials. These can attract pests, cause odors, and slow down the composting process.
Prevent Compost From Stinking:
A well-maintained compost pile should not emit a foul odor. If it does, it’s usually a sign of too much moisture or a lack of oxygen. Regularly turning the pile and ensuring a good balance of greens and browns will help keep smells at bay. MAke sure you covber your compost pile to protect it from excesive rain and check on it regularly.
Troubleshooting Common Compost Problems
If your compost is too wet, add more browns. If it’s too dry, add more greens and ensure it’s adequately watered. Keep an eye out for pests and turn the pile regularly to discourage them.
When is Your Compost Ready?
Your compost is ready when it’s dark, crumbly, and has an earthy smell. This process can take anywhere from a few months to a year, depending on the conditions. Once ready, it can be added to your garden beds to enrich the soil.
Composting in Urban Spaces: Solutions for Small Gardens
Even in urban settings or small spaces, composting is possible. Bokashi bins and worm farms are great solutions for apartment dwellers or those with limited outdoor space.

Composting References


